Getting Started With Moodle
Moodle is a learning management service (LMS) that several districts use to help them organize their classrooms online.
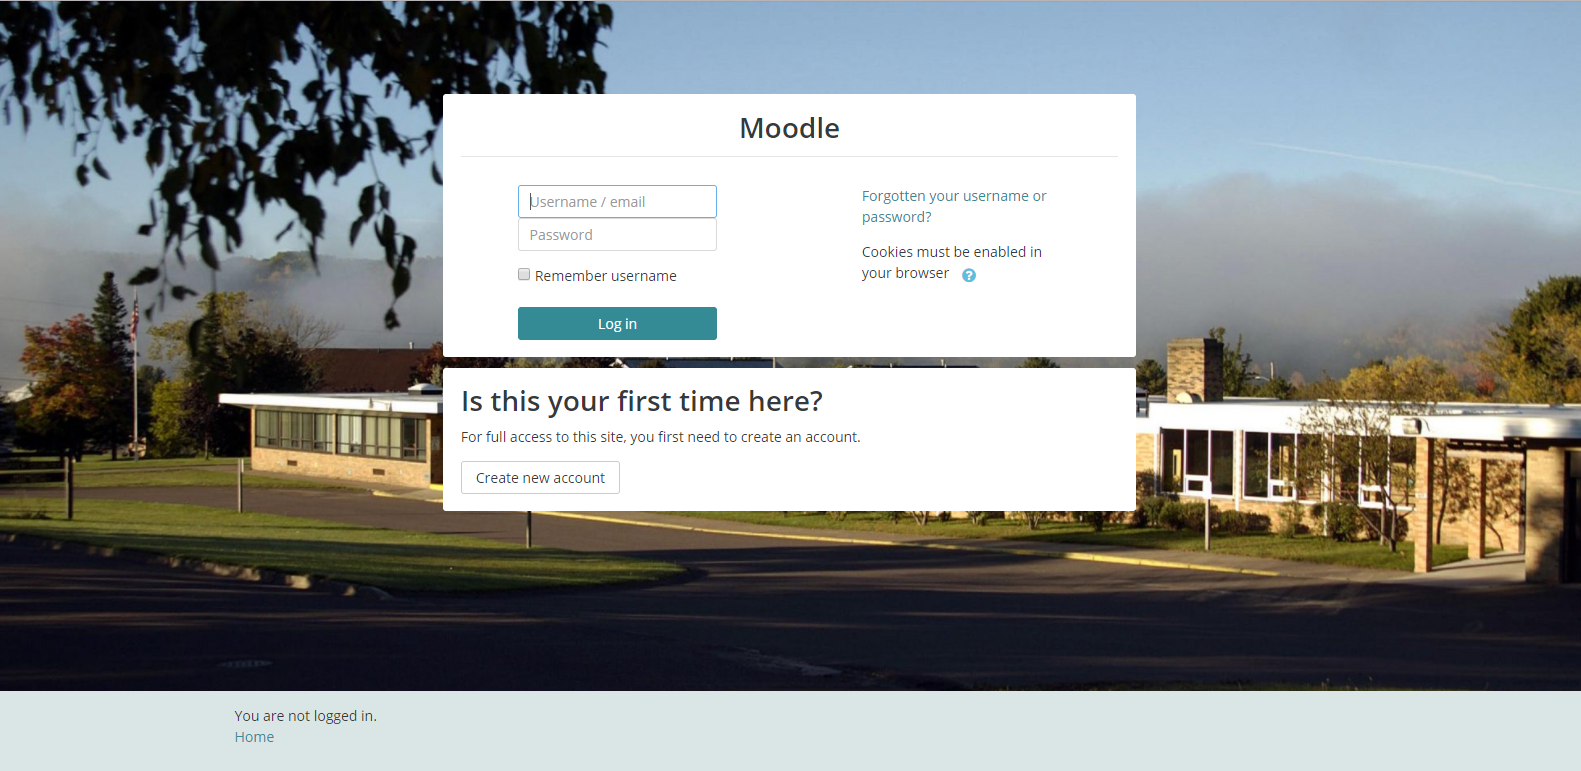
To access Moodle you'll go to moodle.remc1.net and log in with your Google account information, i.e., your email address and password.
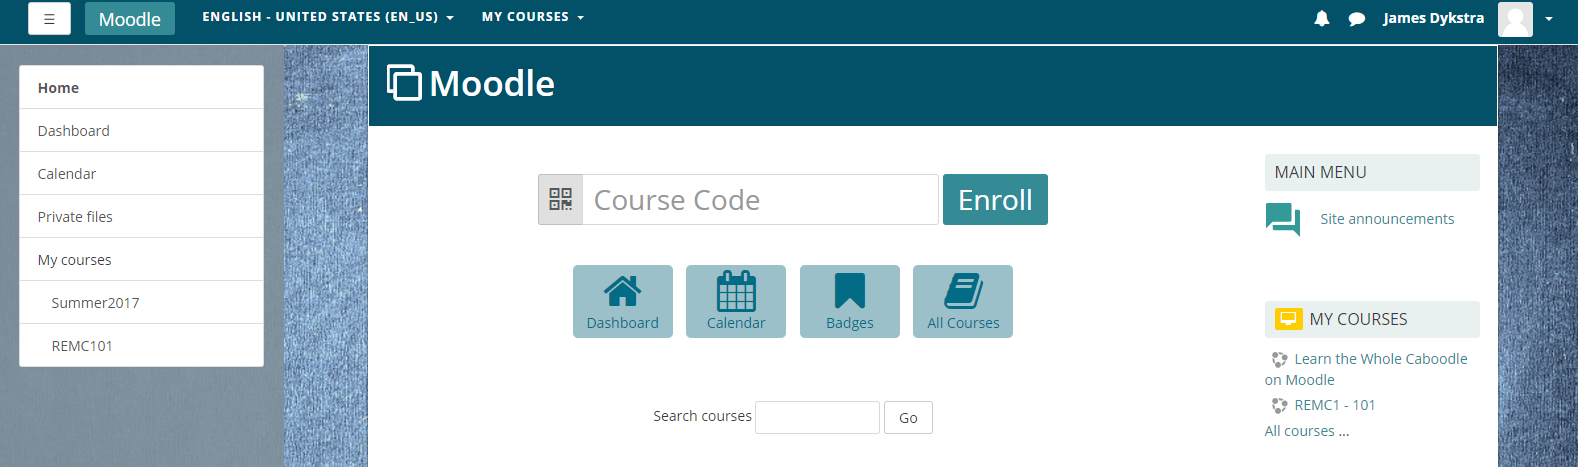
After logging in it will direct you to the homepage which is shown below. My Home will bring you to a list of your courses (courses that you administrate or are a student of).
Calendar will take you to a calendar where your assignments will be listed on their due dates
Badges will display all the badges you have earned, and Courses will take you to a list of all the courses in the districts.
Your courses can be found in the Left sidebar under My Courses. You can find all the available courses under All Courses.
To create a course you'll have to submit a ticket to REMC1. We create the courses on the server but we don't set them up, administer them, or monitor them for you. Once you have a course created, you'll want to fill it with the things that you need to teach your class. We will give pictures of an example course named "Summer 2017" as we go. Clicking on it in the left sidebar pulls up the course.
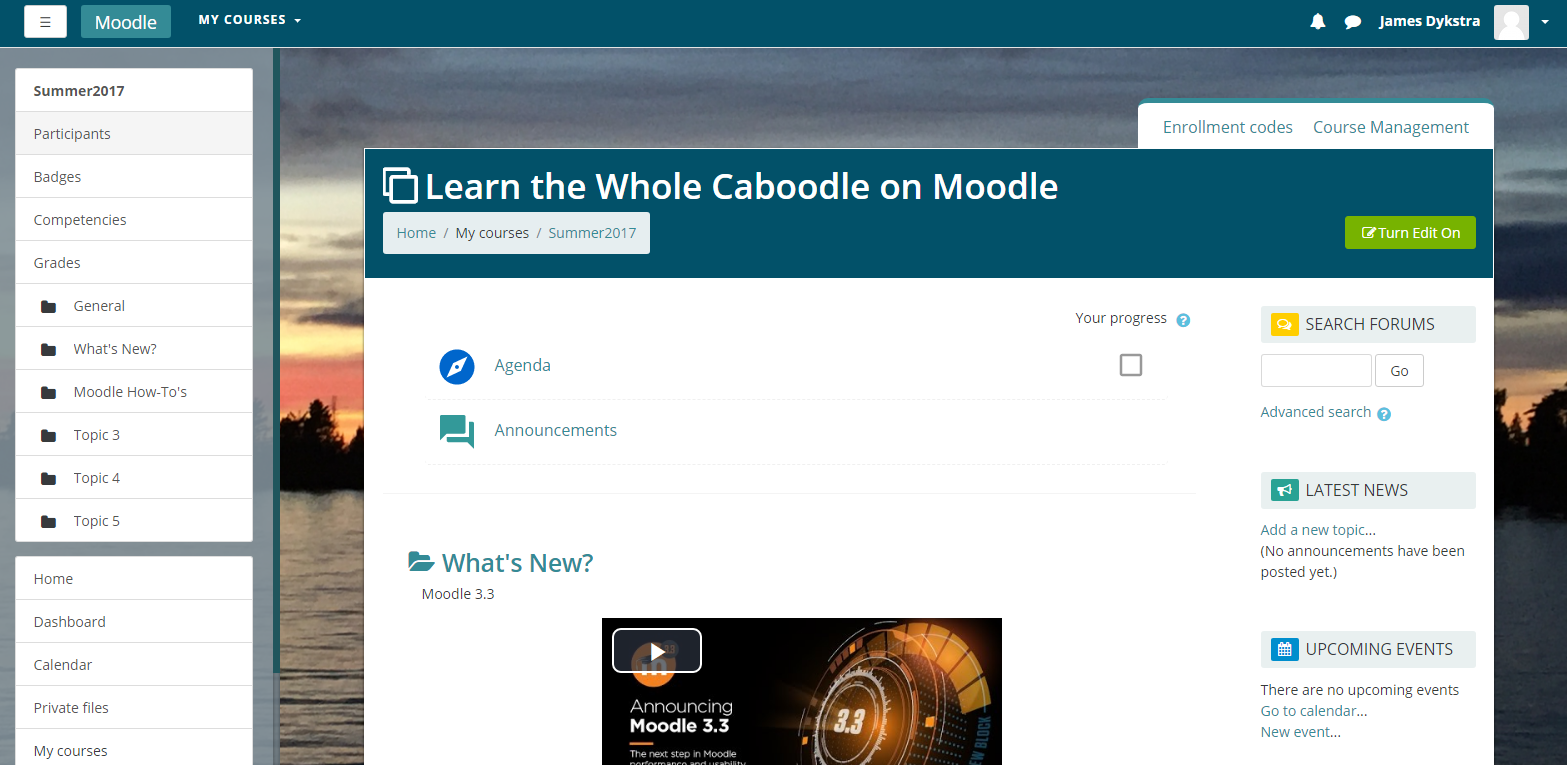
This is basically what the course will look like. This course has somethings filled in already and isn't new, but this is what your course will look like after you've set it up. Moodle has sections that you can use to organize your class and you have the ability to lock certain sections until the students have progressed and completed other sections if you'd like. This way you can set the flow of your course and prevent students from skipping around. You can see that is the case for this course as the later sections that are marked as hidden from students. To edit the course you'll want to turn editing on by clicking that green "Edit On" button at the top right of the course (see picture above).
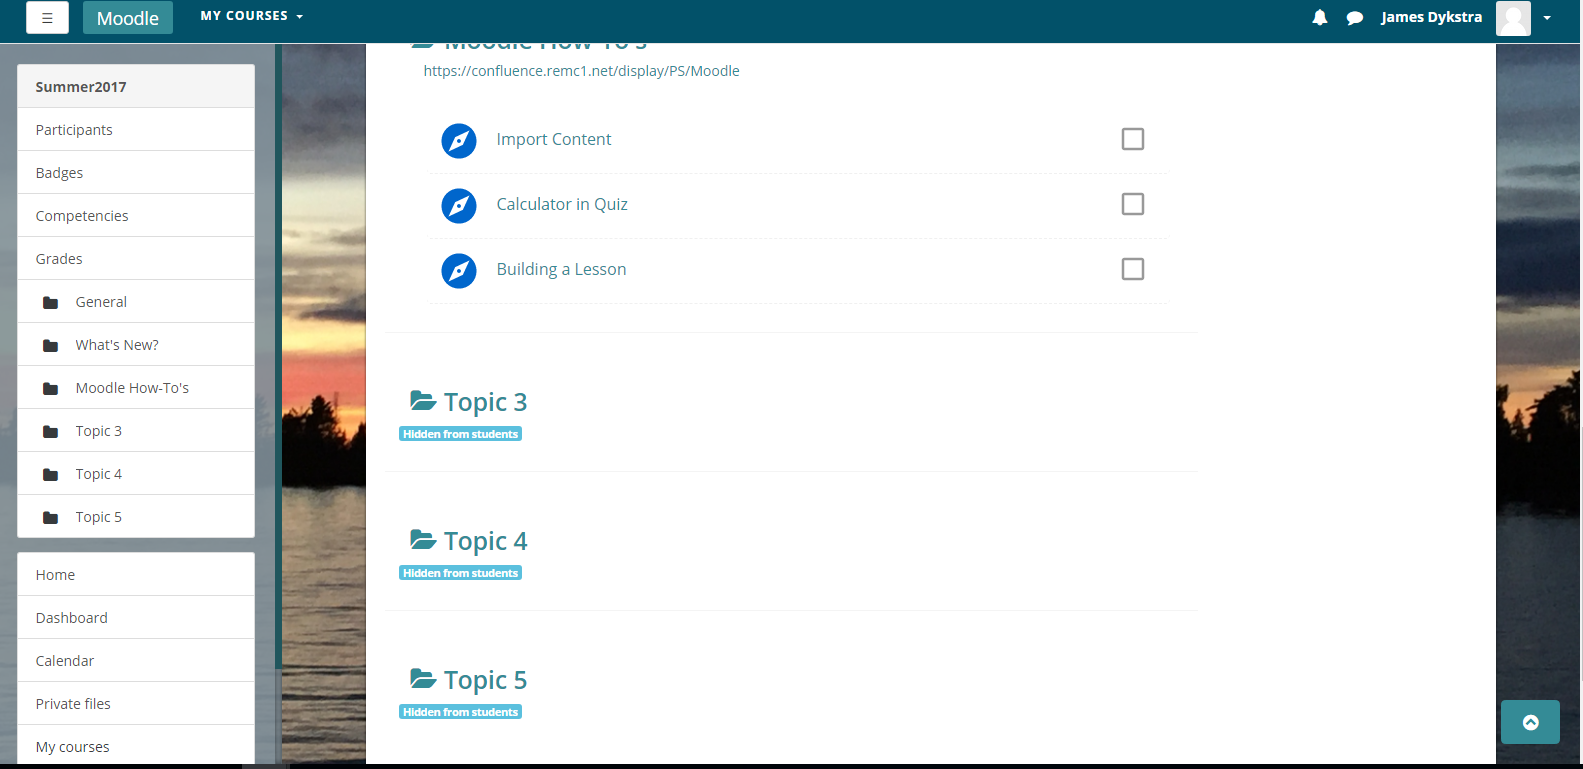
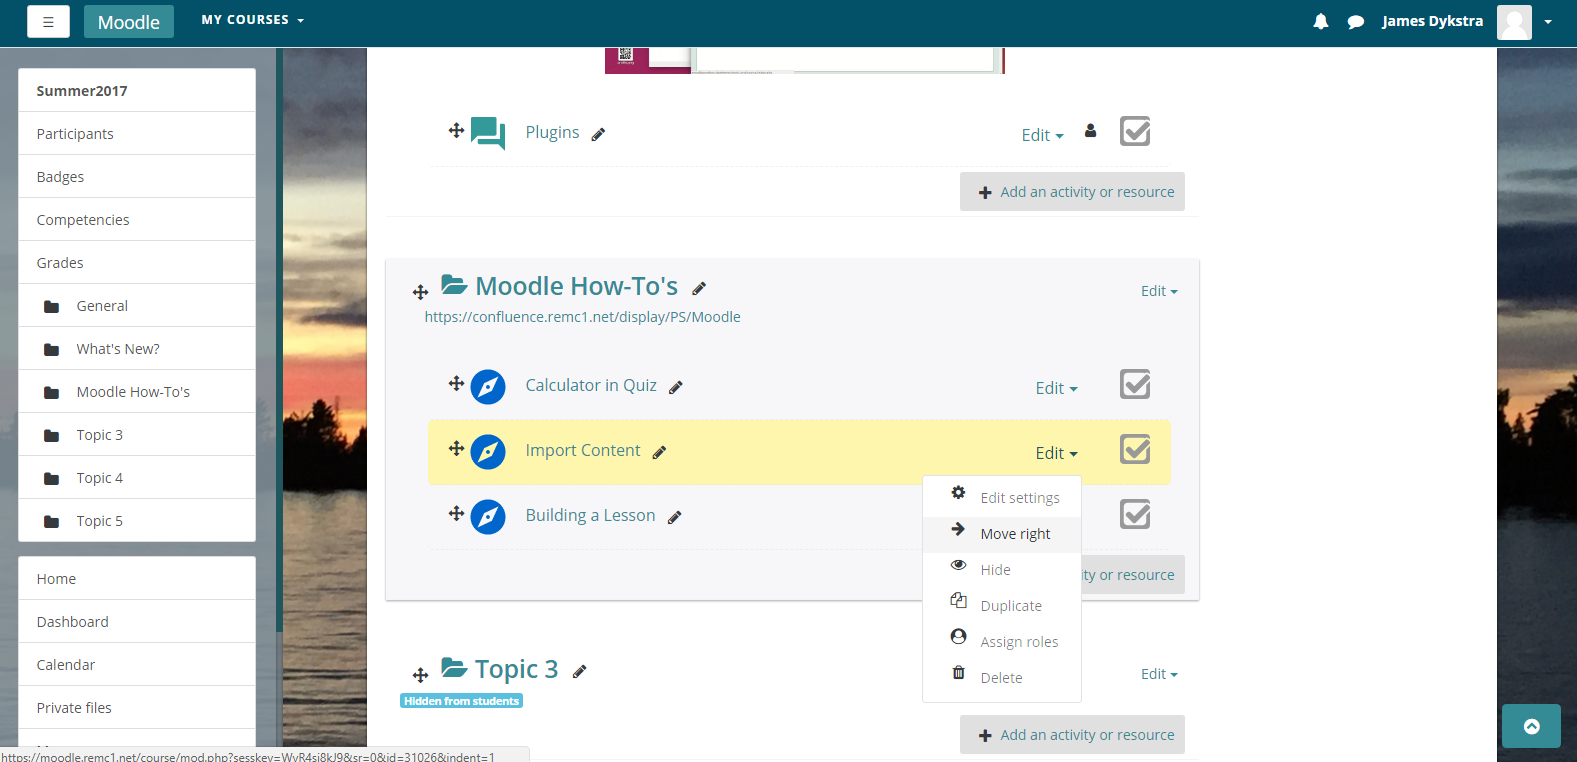
Once you've turned editing on, you can start to add sections and populate your course. You can add a number of different "Activities", as Moodle calls them, to a section. These activities include Assignments, Quizzes, Chats, Wikis, as well as many others. Once you add more sections you'll be able to move them around and arrange them how you see fit. You can indent activities and resources within a section to give the section more of a hierarchy and organization within the section.
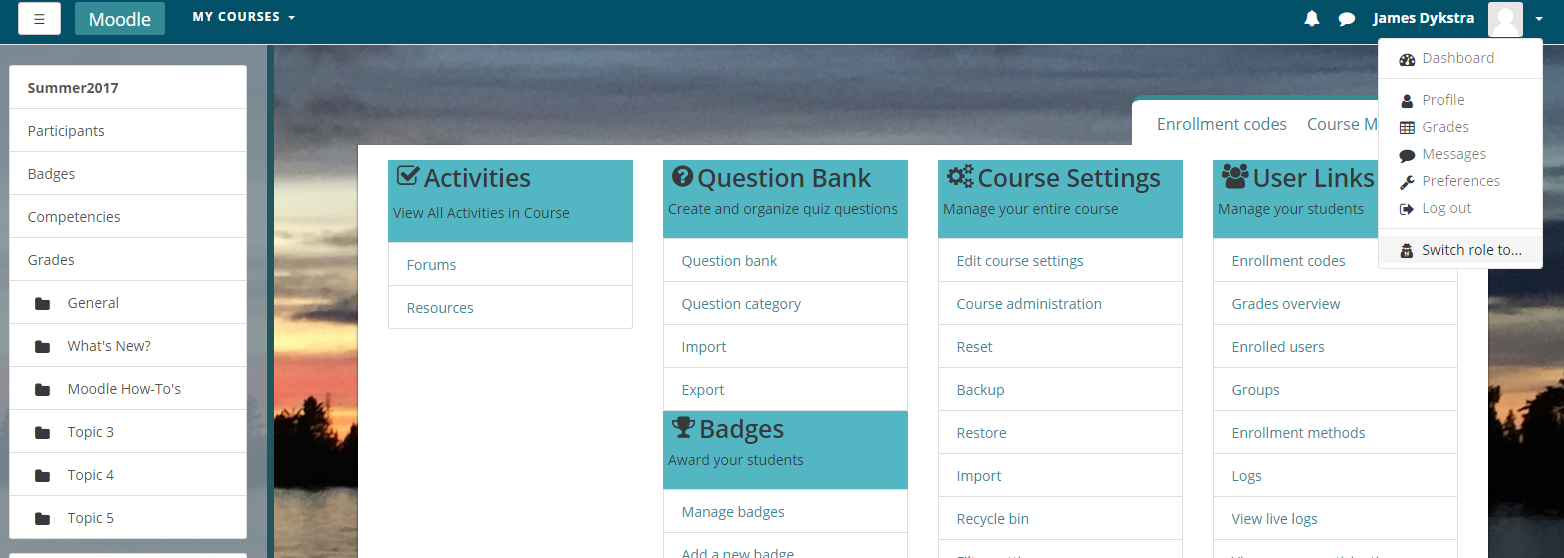
There are some useful options in your user drop down in upper left. You can choose to view the course as a different "role" such as Non-Editing Teacher or Student. A Non-Editing Teacher is a teacher who can grade and teach the class but can't edit the activities or modify the class structure. A Student is a student of the class. They can't grade activities or assignments or modify the class.
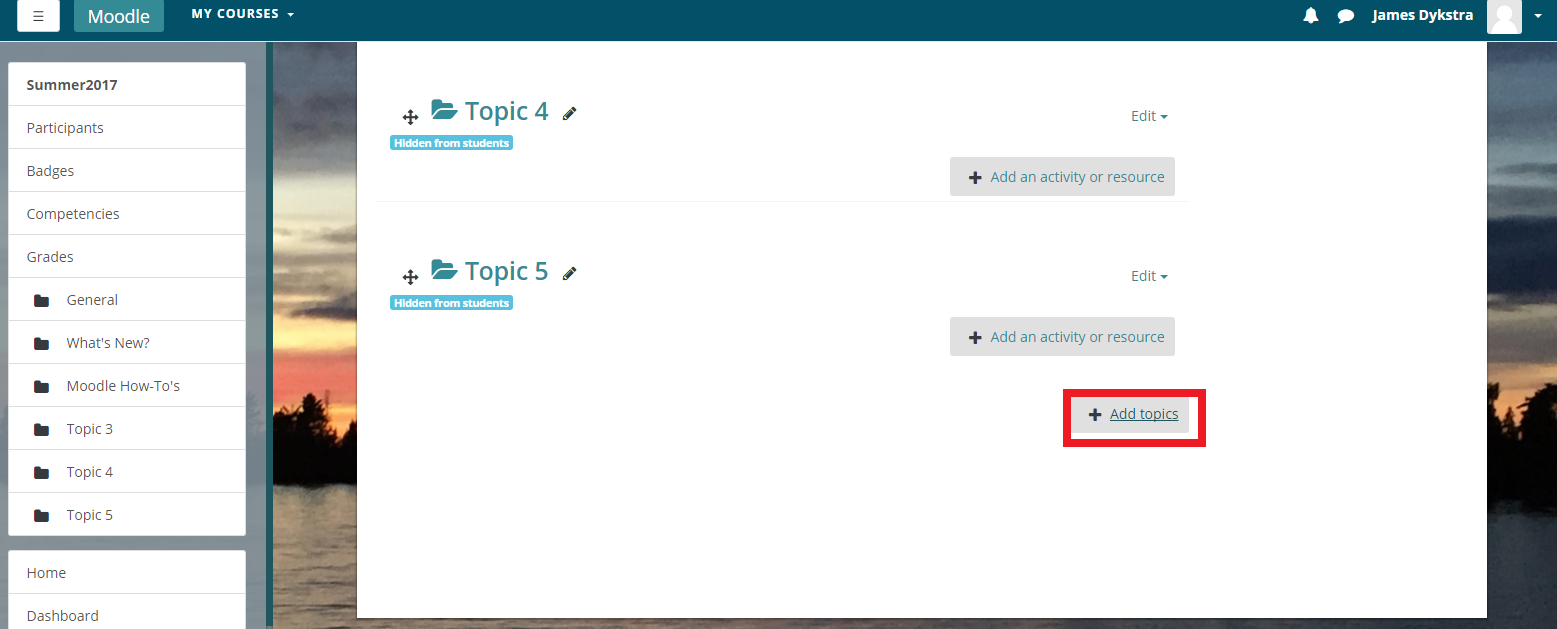
To add a topic to the course scroll all the way to the bottom of the course (sections are automatically added to the bottom of the course but can be moved around once they are created) and hit the Add section button.
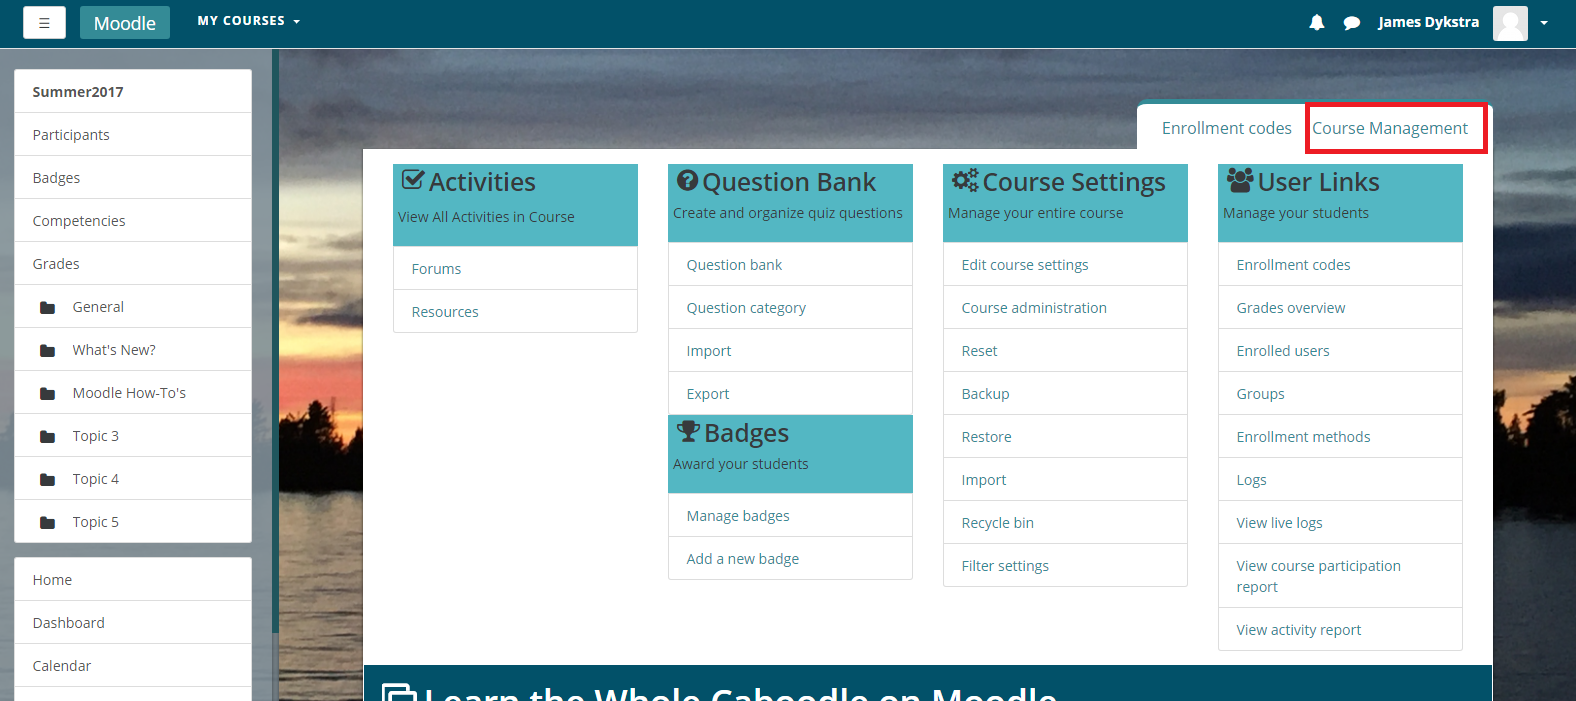
Many of the functions of your course can be found under Course Management. You have the ability to change student groups, enrolled users, enrollment keys, grades, backup your course, and more. There is more detailed information on how to do some of these tasks in the other pages in this sections of Confluence.