Unifi Protect Video Security
Cloud Portal Login to View Cameras: https://unifi.ui.com/
Creating an Account
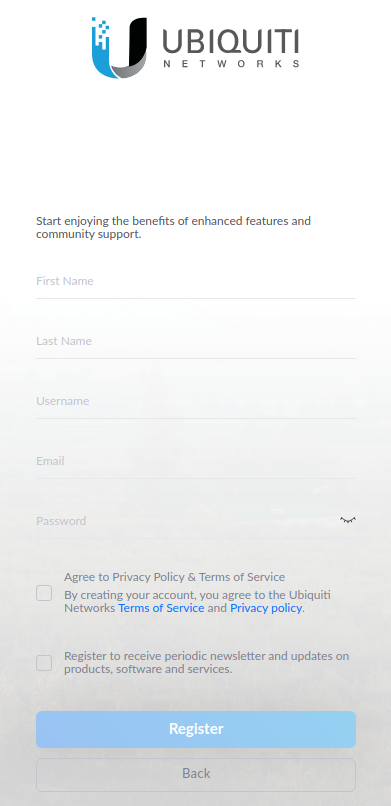
- Before logging in for the first time you need to create an online account.
- Open https://account.ui.com/register
- From here enter the requested information. For consistency please put your email address in the 'Username' field.
- Check the box to agree to the Terms of Service.
- Click on Register.
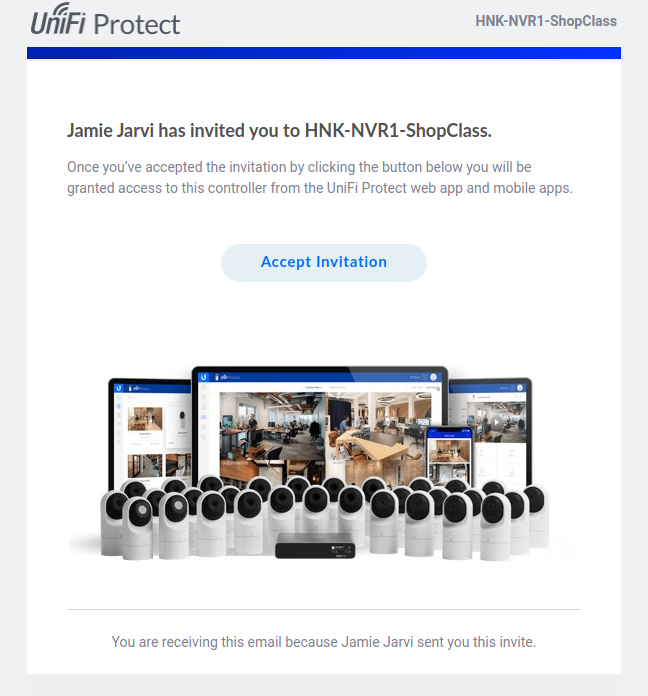
- REMC1 will send you an invite via email to access the security system, be sure to check your Spam folder.
- If you do not get this invite, or it is expired, contact REMC1 to re-send it.
- Simply clicking on "Accept Invitionation" in the email will give you access to the security system.
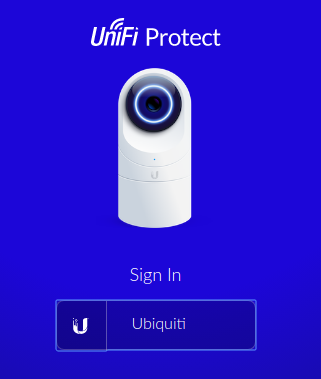
- You can now log in at https://unifi.ui.com/
- Once logged in you will see a list of security systems you have access to (typically only one).
- Click on the name of the system you are going to access.
Accessing the Security System
- Log in at https://unifi.ui.com/
- Once logged in you will see a list of security systems you have access to (typically only one).
- Click on the name of the system you are going to access.
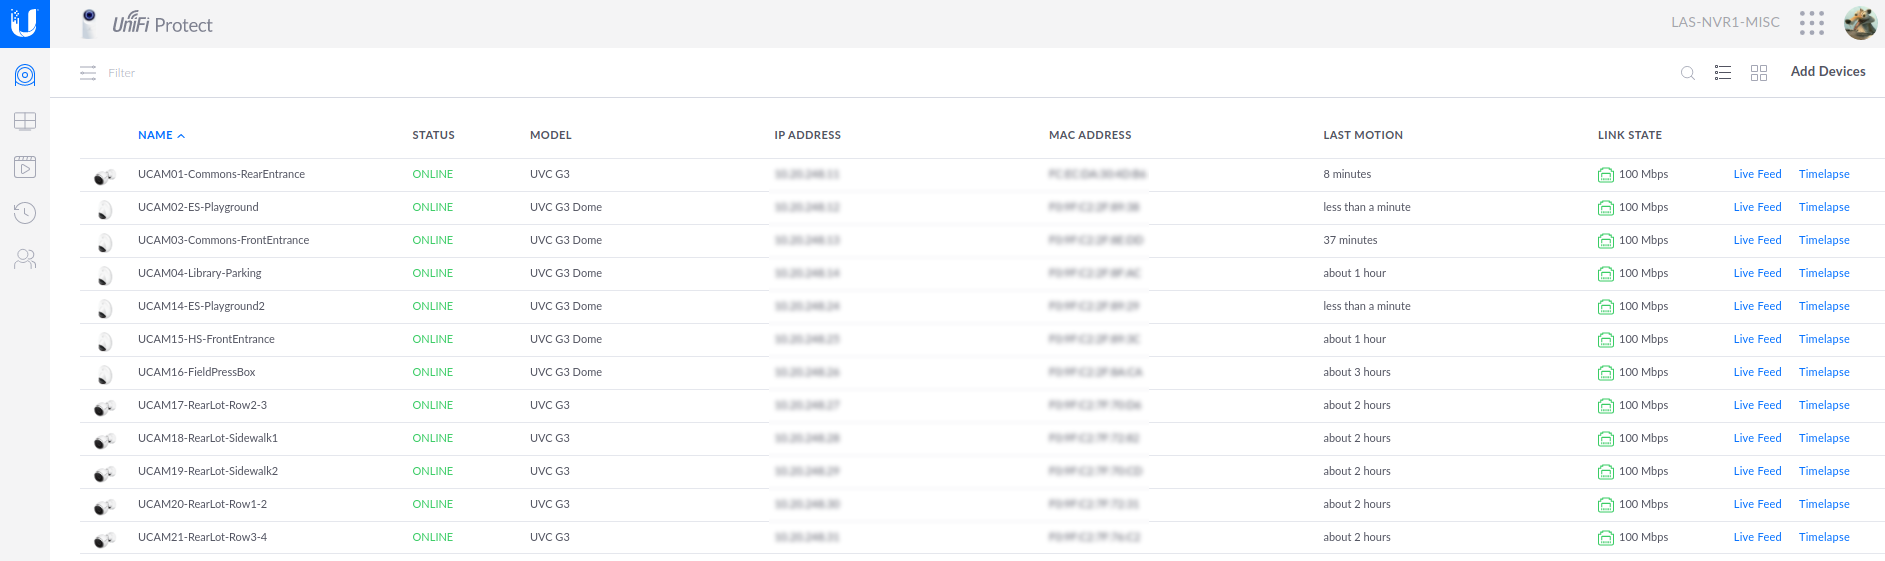
Viewing Cameras
- From the left navigation bar, click on the top icon, under the large "U"
- You may click on any camera to get a small view of it that will display along the right side of the screen.
- Click the 'play' button in the middle of the image to view a larger live image. Alternatively you can click on "Live Feed" along the right side of the screen.
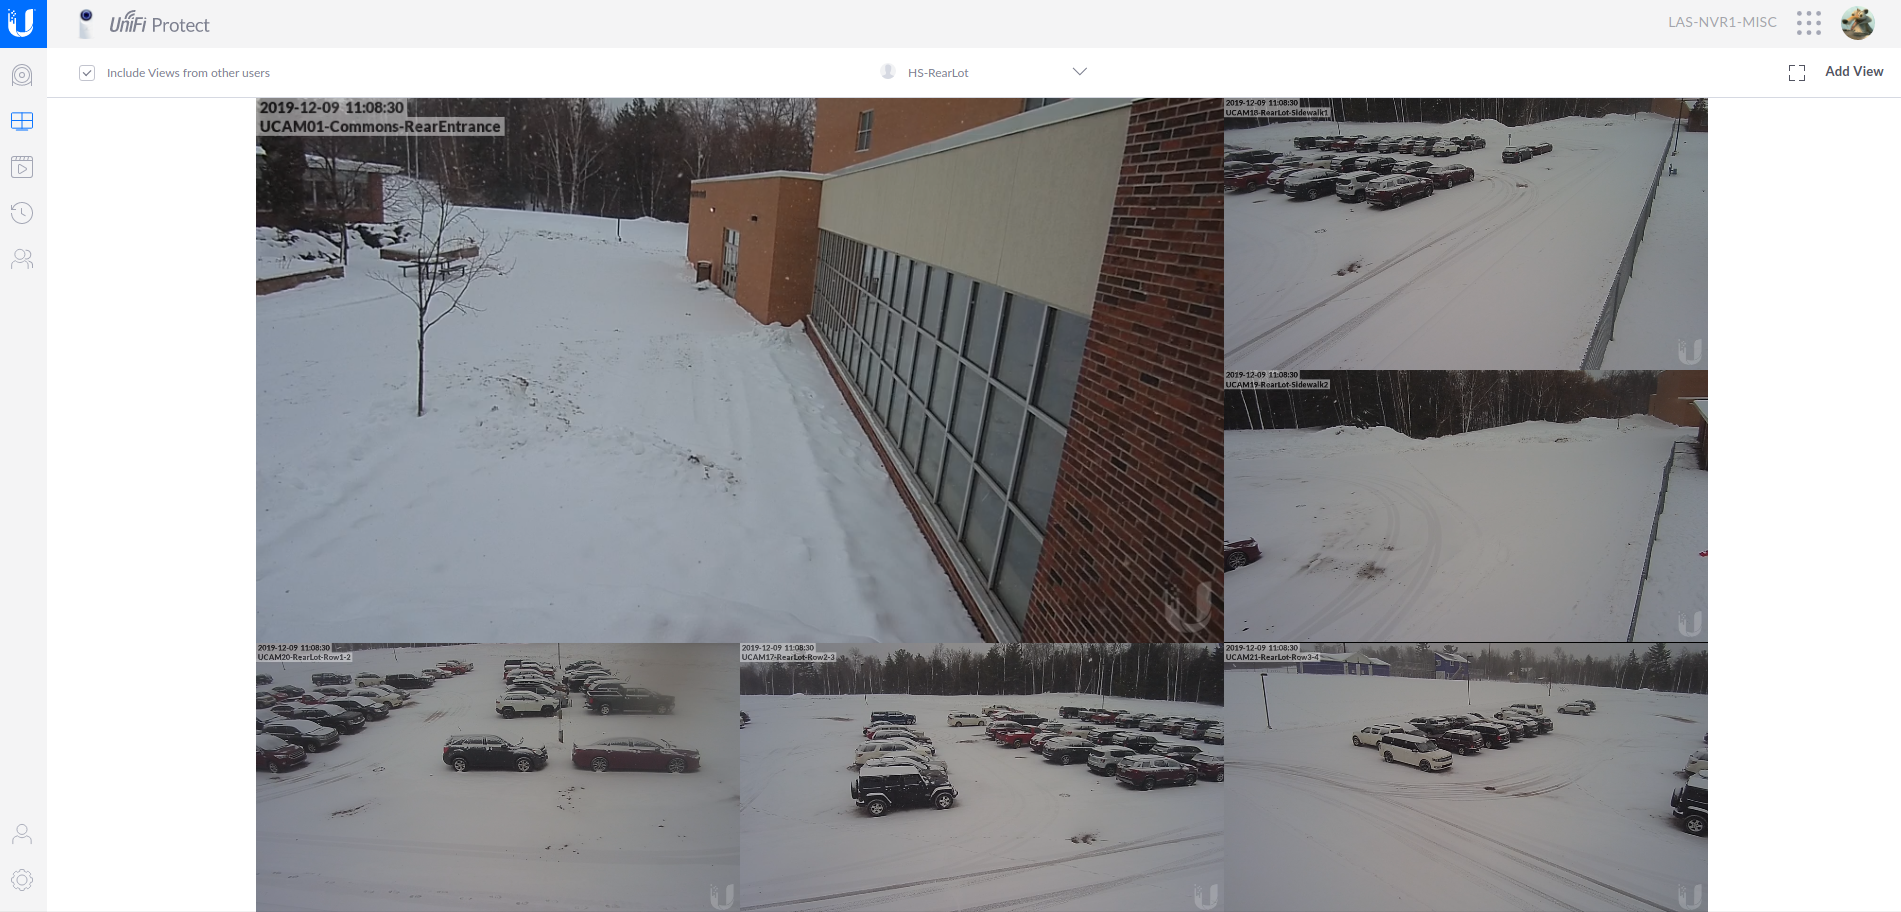
Creating and Viewing Live Views
- In addition to viewing a single camera, you can also create a Live View/video wall that contains from 1-26 cameras.
- Click on the second icon below the large "U"
- From here you can add, remove, or view existing Live Views.
- Be sure to click on checkbox "Include Views from other users" to see existing shared views created by other users.
- At the top of the screen you can click the drop-down box to select other views. In the screenshot below it is called "HS-RearLot" for example.
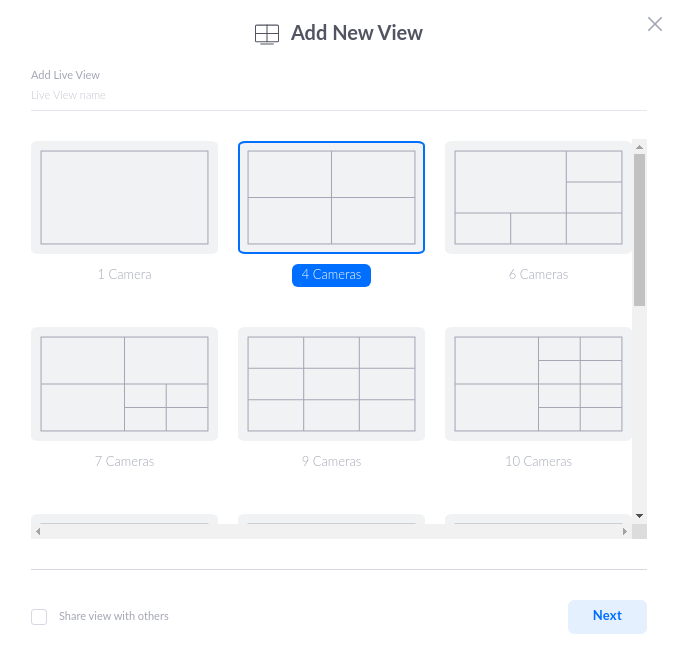
- Additionally, you may create your own Live Views by clicking on "Add View" in the upper right corner.
- In the Add New View window, choose your desired layout.
- Optional: click on "Share view with others" in the lower left so that other users may use the Live View you are creating.
- Click Next.
- At the next screen you can setup your Live View.
- In the upper right be sure to give your view a name, such as "HS Parking Lot"
- Click on a camera along the right side of the screen and drag the camera to one of the spaces in the new view.
- Once you are done, click the Save button in the upper right corner.

Viewing Recorded Video
Per administration, not all users may have access to recorded video.
- From the left side of the screen you may click on either the 3rd of 4th icon under the large "U"
- The first one is "Events" and the second is "Timelapse"
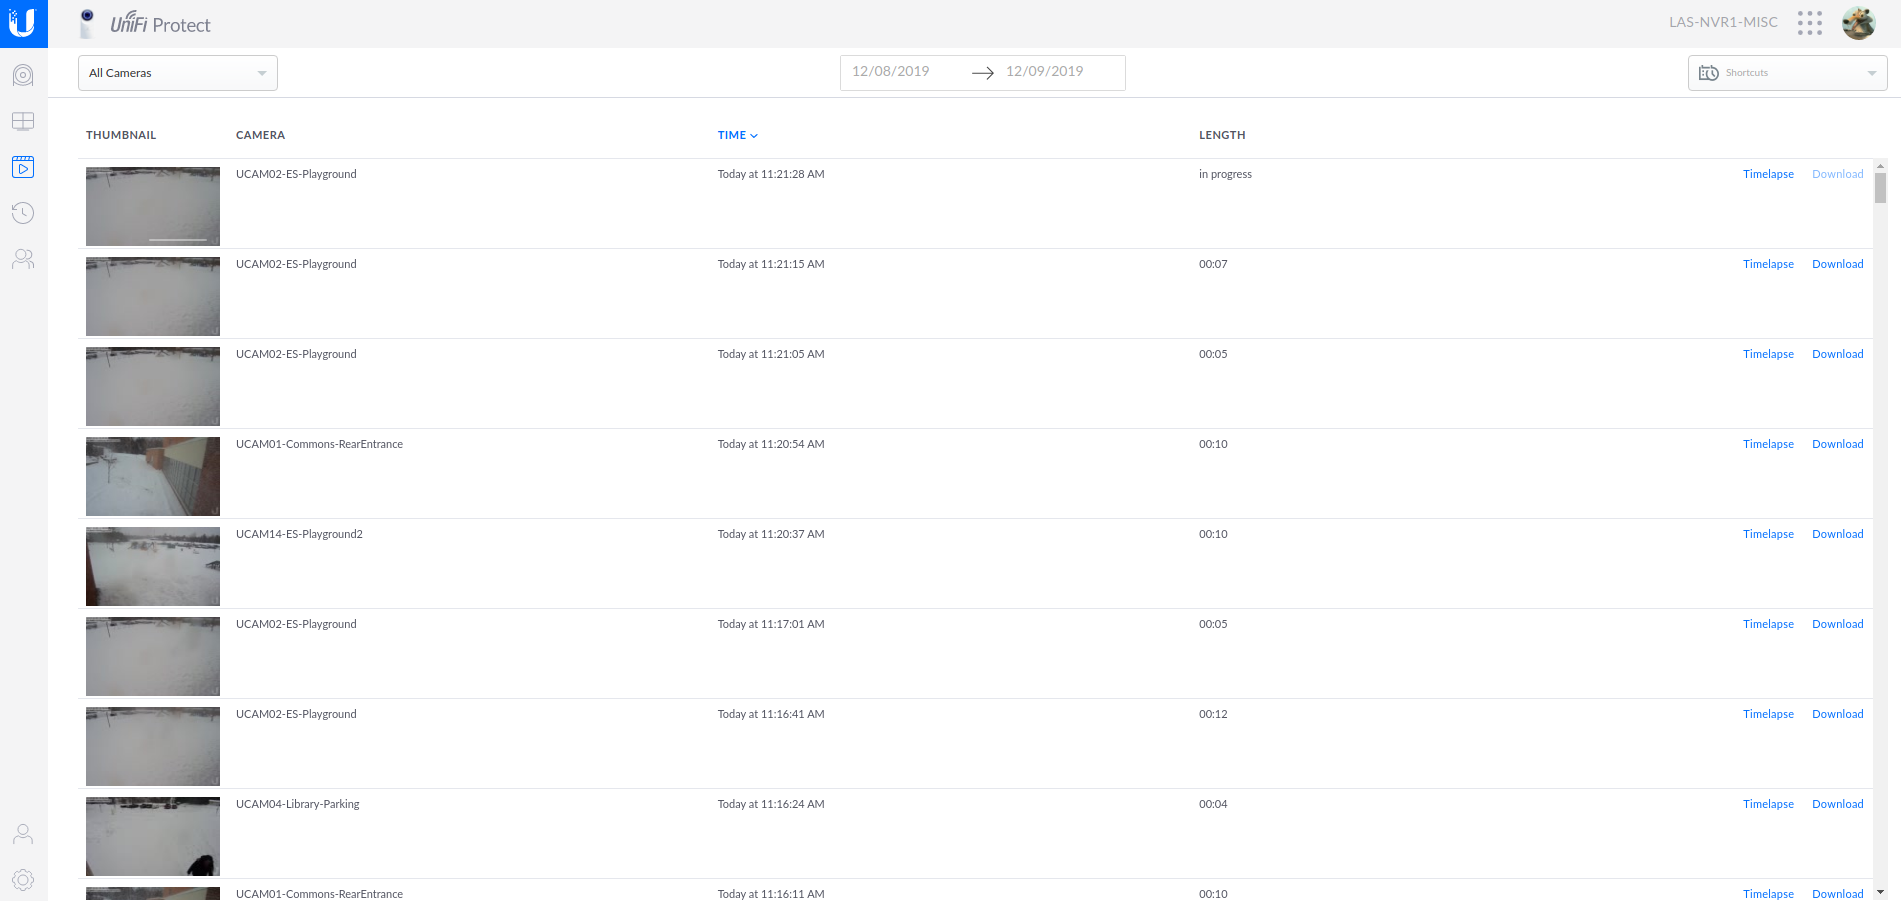
Events
- Events are motion-detected recordings - Use the options along the top of the screen to narrow down your search.
- Click on a camera event to play it.
- A link at the right edge of the screen allows you to download the recording.
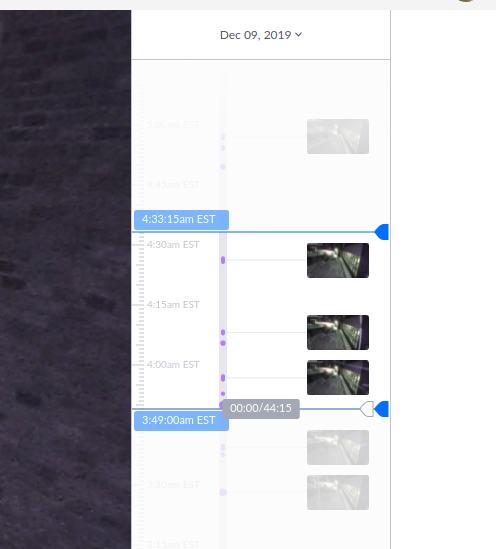
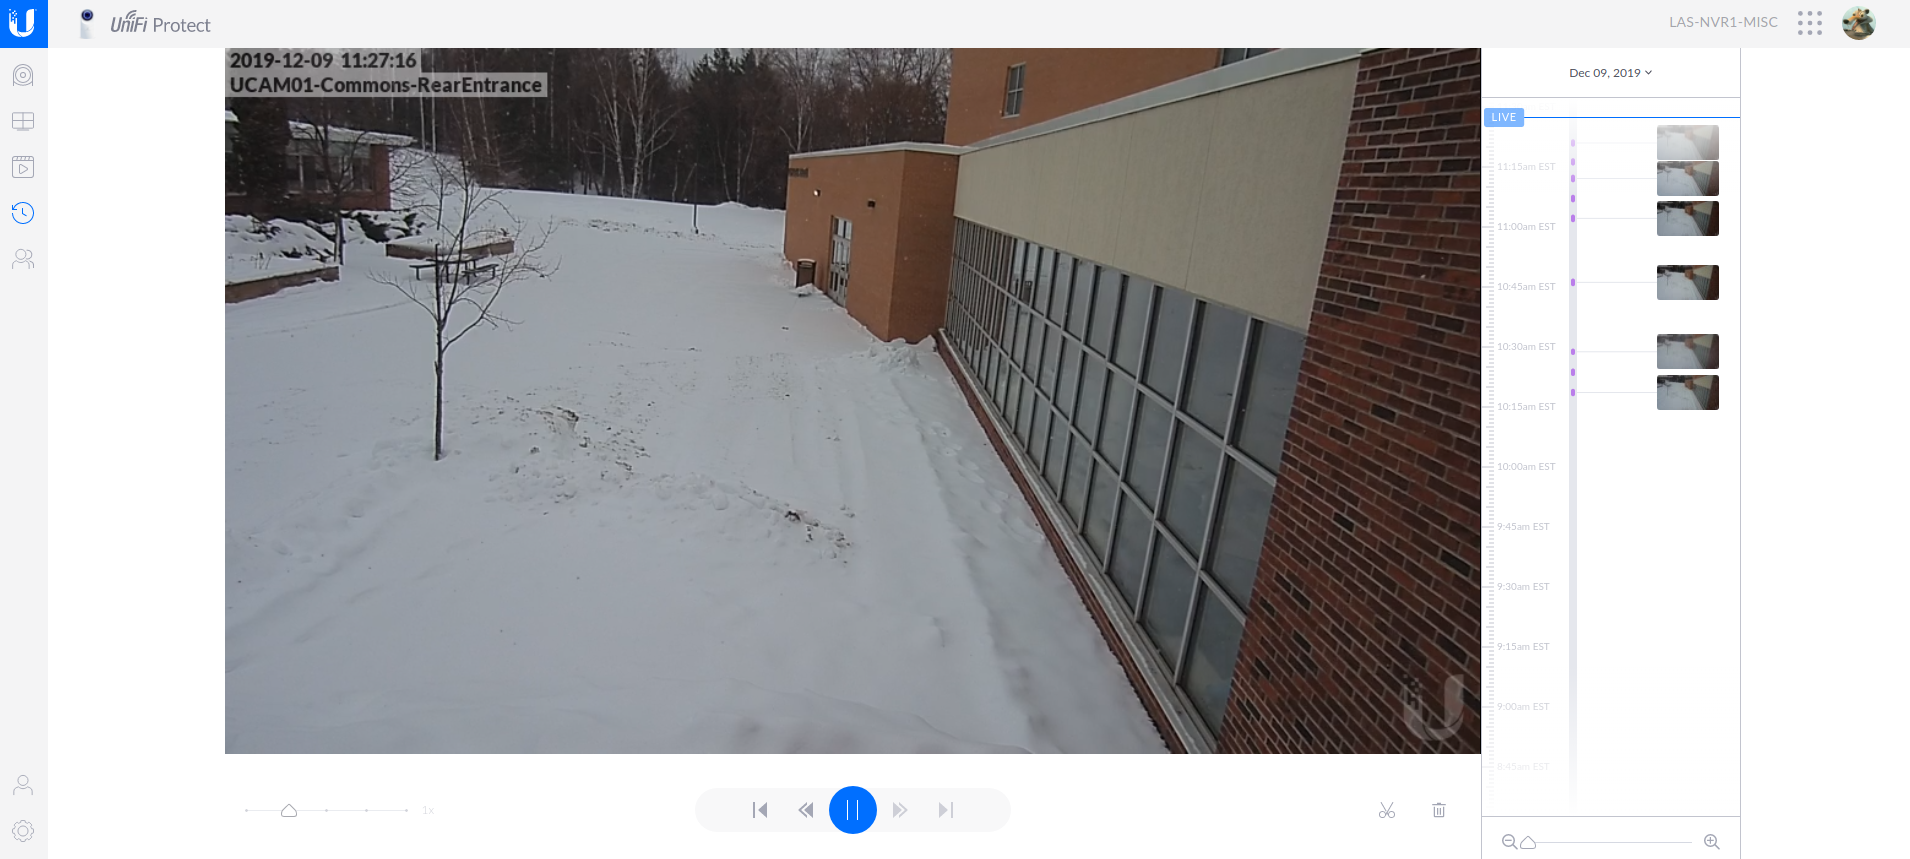
Timelapse
- Video is recorded on each camera full-time.
- If you are unable to find something in the Event view, you can search the Timelapse.
- Click and drag the timeline on the right side of the screen. You can choose the day from the dropdown above the timeline.
- To download video from the Timelapse screen, click on the scissors in the bottom right corner, below the video image.
- In the timeline along the right side of the screen, use your mouse to drag over a period of time.
- Click Download in the lower right corner of the screen.