Genetec Video Security Web Interface
Viewing a camera Live
- From the home page after you log in: If you log in and click the Monitoring button then clock on the arrow next to 10.100.20.105 then the arrow next to Video you will see some of the outdoor cameras at the bottom of the list. Towards the top of the list you will see containers for the different buildings. Just click the arrow next to those to look at the cameras under those containers. See the image below where you will see the partially expanded list of cameras in the left pane.
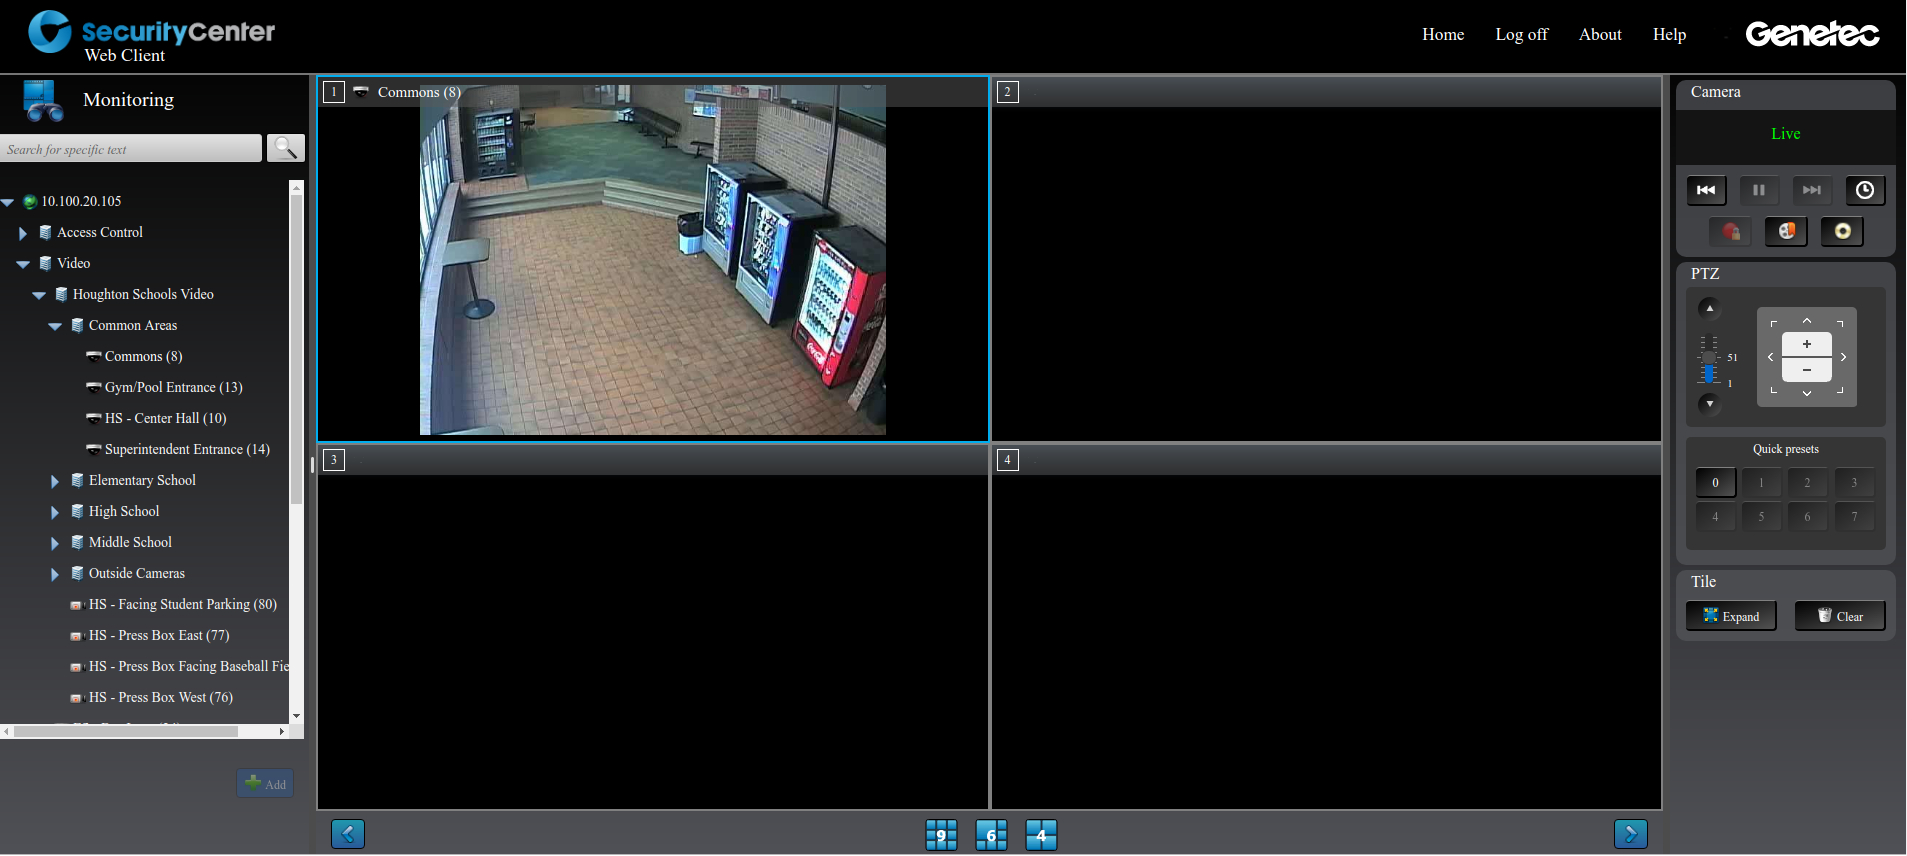
- When you find a camera you wish to view just select it and click the plus sign button at the bottom of the list and it will jump into one of the tiles. You can also drag the camera into a pane.
- To make a tile full screen just click on the tile and look in the lower right corner. There is a button named "Expand"
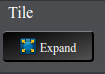 which will make the tile fill the window. Hit the same button again to collapse the view back down. Cameras will stop streaming via the web interface after about 10min. Hit play again on the tile to continue the stream.
 - WARNING: You will see PTZ controls on the right side which will move the camera or zoom in. All cameras are carefully aimed by the school to cover the grounds of the school. If you move a camera or zoom in then future recordings will be missed or of bad quality and the system will be crippled with cameras pointing in the wrong directions. I recommend not touching the PTZ controls as the future consequence could be missed security events.
Viewing recordings:
- Once a camera is selected you can go back and view all historic video. There is a camera controls pane on the right side. Click the button that looks like a clock
 . A date and time search comes up. You can use the calendar to select a date and a drop down for the time.
 - Houghton's system has no motion detection. You can skip to a date and time then search around for the event.
Export Video
- If you want to export a time range of video, select the camera as instructed above and now click on the icon in the right panel that looks like a DVD
 . A date range will pop up asking what range you want to export. The web interface is currently limited to exporting 15min max at a time. If you need a greater length you can export in multiple 15min chunks. Alternatively you can make notes of the date/time ranges and have the school export via the Genetec client which is much more feature ful and allows exports of any length. Select G64 for the export file type and then hit export export the video.
 - You will see a progress bar at the top of the screen as the system exports the video.
- Once it says its completed you click the Home button
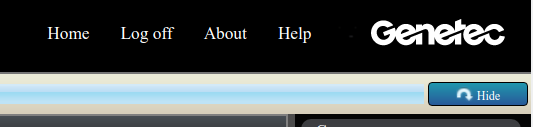 at the top of the screen so you can then click the available exported videos button.
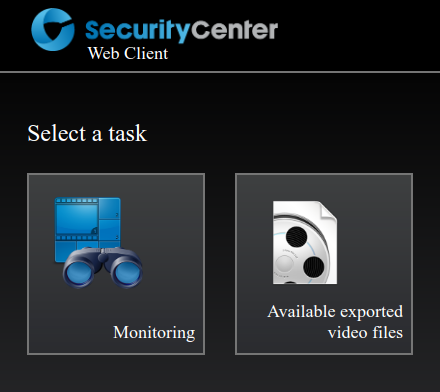
- Now you will see your list of exported videos. You can click the download button next to each video.

- It may take a while to download depending on the speed of the internet at your location.
Playing Exported videos and Converting to MP4
- These G64 videos must be played with a special genetec player. You can also load them in the genetec player and save-as MP4 which is a standard mpeg4 format that can be played by anything.
- Here is the genetec player: Genetec Video Player 5.7.msi